My post is for them who has blogger blog. Now I am sharing
with you some social widgets for blogger. When we visit other’s blog site, we
can see that any one side of the blog has facebook or twitter or google plus
icon. And when we keep our mouse cursor in any of these then it slides. Do you
want to add these widgets? You can add these widgets to your blog for free. As a result your visitor will increase. And
increase your facebook like or twitter follower. To add these widgets follow my
instructions.
Process: 1
Go to blogger. Then log in here with your ID and Password. From
here click “Template”. A new page will open like bellow.
Here select “Edit HTML”. You will get your HTML codes. From
here find(Ctrl + F) the bellow code.
</head>
Then paste the bellow code above the the code </head>.
<script src=”https://ajax.googleapis.com/ajax/libs/jquery/1.6.1/jquery.min.js”
type=”text/javascript”></script>
Process: 2
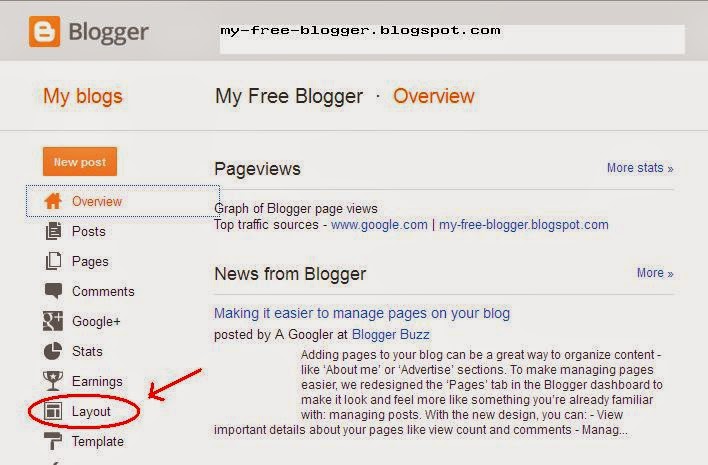
Now go to “Dashboard”. From here select”Layout”. Then select
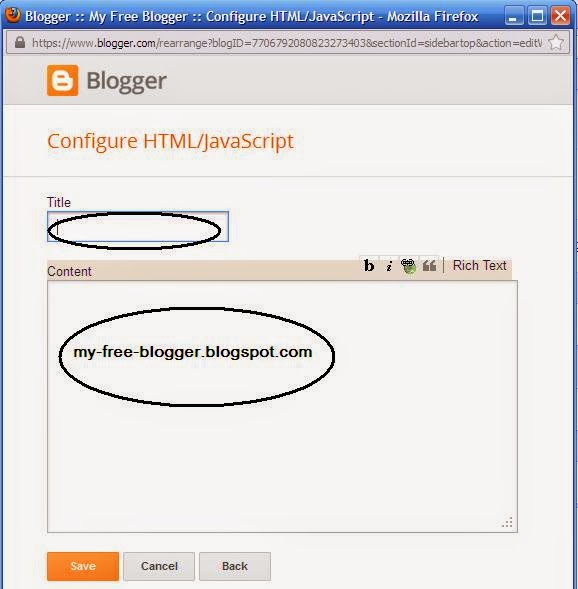
“Ad a gadget”. A new page will reopen. From here select “HTML/Java Scripts”.
Then paste the bellow code.
For facebook like:
Code:
<script type="text/javascript">
//<!--
$(document).ready(function() {$(".w2bslikebox").hover(function() {$(this).stop().animate({right: "0"}, "medium");}, function() {$(this).stop().animate({right: "-250"}, "medium");}, 500);});
//-->
</script>
<style type="text/css">
.w2bslikebox{background: url("https://blogger.googleusercontent.com/img/b/R29vZ2xl/AVvXsEh-iWfVkmmEU3V5sKAy3NE1kH7RCm4b2aERuOrg1eVl8PntPd2xGxDks-iEdJqXzuQ4QKWVd8gIja4UyTPJPreaewtn6bHn_jaZMqppbhB8HsgVZjhBUYTaSUH9R964pjOJSraOTsCFkaRo/s150/w2b_facebookbadge.pn") no-repeat scroll left center transparent !important;display: block;float: left;height: 270px;padding: 0px 5px 0 40px;width: 245px;z-index: 99999;position:fixed;right:-250px;top:1%;}
.w2bslikebox div{border:none;position:relative;display:block;}
.w2bslikebox span{bottom: 12px;font: 8px "lucida grande",tahoma,verdana,arial,sans-serif;position: absolute;right: 6px;text-align: right;z-index: 99999;}
.w2bslikebox span a{color: #808080;text-decoration:none;}
.w2bslikebox span a:hover{text-decoration:underline;}
</style><div style=""><div>
<iframe src="http://www.facebook.com/plugins/likebox.php?href=http%3A%2F%2Ffacebook.com%2F Your ID&width=245&colorscheme=light&show_faces=true& connections=9&stream=false&header=false&height=270" scrolling="no" frameborder="0" scrolling="no" style="border: medium none; overflow: hidden; height: 270px; width: 245px;background:#fff;"></iframe></div></div>
Note: Change this Your ID with your user name. Then save thee gadget.
For twitter follow:
Code:
<script type="text/javascript">
//<!--
$(document).ready(function() {$(".twitterboxot").hover(function() {$(this).stop().animate({right: "0"}, "medium");}, function() {$(this).stop().animate({right: "-250"}, "medium");}, 500);});
//-->
</script>
<style type="text/css">
.twitterboxot{background: url("https://blogger.googleusercontent.com/img/b/R29vZ2xl/AVvXsEgblPfWJrzGBzT_rJ9vxJElj3iiJbNf7UAjo2aaMKBIse72WhZTH8PXzYuap5bx5ErqEWXcOUjFS_Q73MaOaheNM9sVtDftdQxUtf4G_Sb9jg4KRSXYRVjM0Aih7Y3DTAPoygCHchDmVFE/s1600/twitterfanbox-OT.png") no-repeat scroll left center transparent !important;
display: block;
float: right;
height: 240px;
padding: 0 5px 0 46px;
width: 245px;
z-index: 99999;
position:fixed;
right:-250px; top:35%;}
</style>
<div><div>
<script type="text/javascript"
src="http://ultimateblogmanager.googlecode.com/files/sliding%20twitter%20box.js"></script><div
id="twitterfanbox"></div><script
type="text/javascript">fanbox_init("Your ID");</script></div></div>
Note: Change this Your ID with your user name. Then save thee gadget.
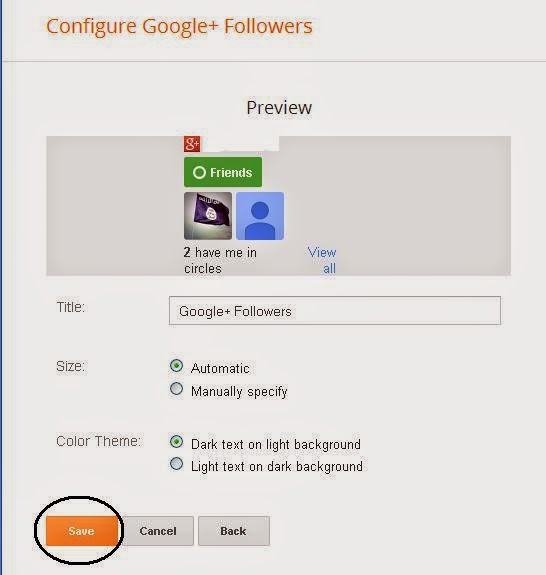
For Google plus:
<script src="https://ajax.googleapis.com/ajax/libs/jquery/1.6.1/jquery.min.js" type="text/javascript"></script>
<script type="text/javascript">
//<!--
$(document).ready(function() {$(".gplusbox").hover(function() {$(this).stop().animate({right: "0"}, "medium");}, function() {$(this).stop().animate({right: "-330"}, "medium");}, 500);});
//-->
</script>
<style type="text/css">
.gplusbox{
background: url("https://blogger.googleusercontent.com/img/b/R29vZ2xl/AVvXsEjYtKCVS0WpcMeE2ptpDhU5zw2cgppVpXvHqn49DzuKoGCe0IMhYpd_i0nBrllGwyLZD-qrsXNDuqfErpkFwsHJgiQzBlww0Y5XXgFxGvchi0ObbRCoxaBCTJeqyvia8YC4822exh2TpjuK/s1600/g++lordhtml.jpg") no-repeat scroll left center transparent !important;
display: block;
float: right;
height: 330px;
padding: 0 0px 0 46px;
width: 325px;
z-index: 99999;
position:fixed;
right:-330px;
top:60%;
}
.gplusbox div{
padding: 15px;
background: white;
border: 2px solid #D64937;
border-right: 0;
}
</style>
<div><div>
<div data-action="followers" data-height="300" data-href="https://plus.google.com/Your ID" data-source="blogger:blog:followers" data-width="320">
</div>
<script type="text/javascript">
(function() {
window.___gcfg = {'lang': 'en'};
var po = document.createElement('script');
po.type = 'text/javascript';
po.async = true;
po.src = 'https://apis.google.com/js/plusone.js';
var s = document.getElementsByTagName('script')[0];
s.parentNode.insertBefore(po, s);
})();
</script>
</div></div>
Note: Change this Your ID with your user name. Then save thee gadget.
Do you like this post? If you like this post please give
your valuable comment and visit this site regularly to get more tips and tricks
for blogger. Friend I am waiting for your valuable comment.
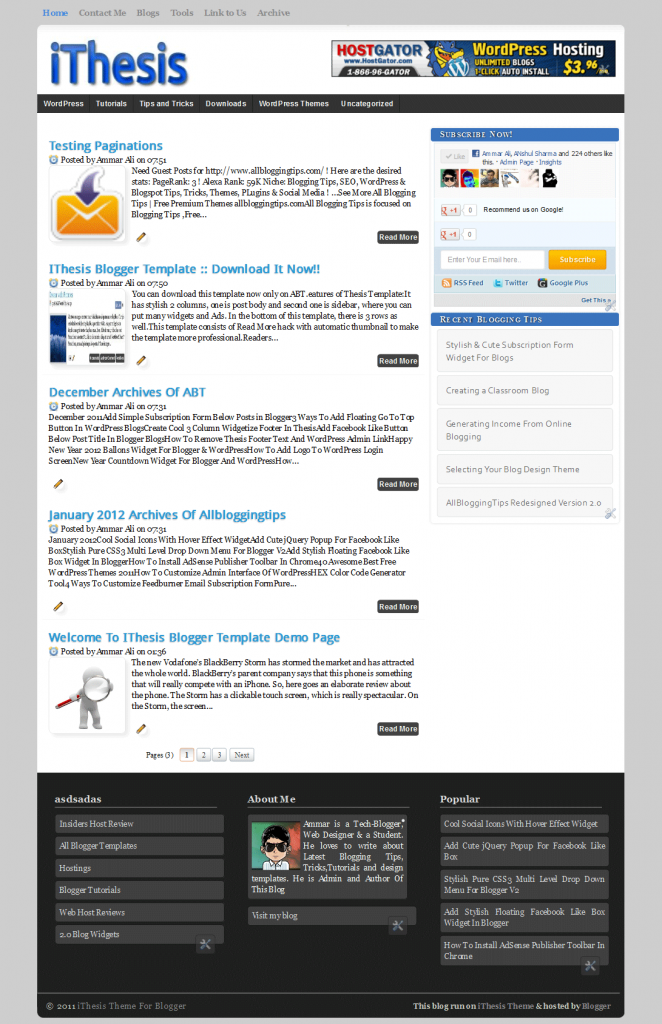


Download iThesis Template For Blogger